


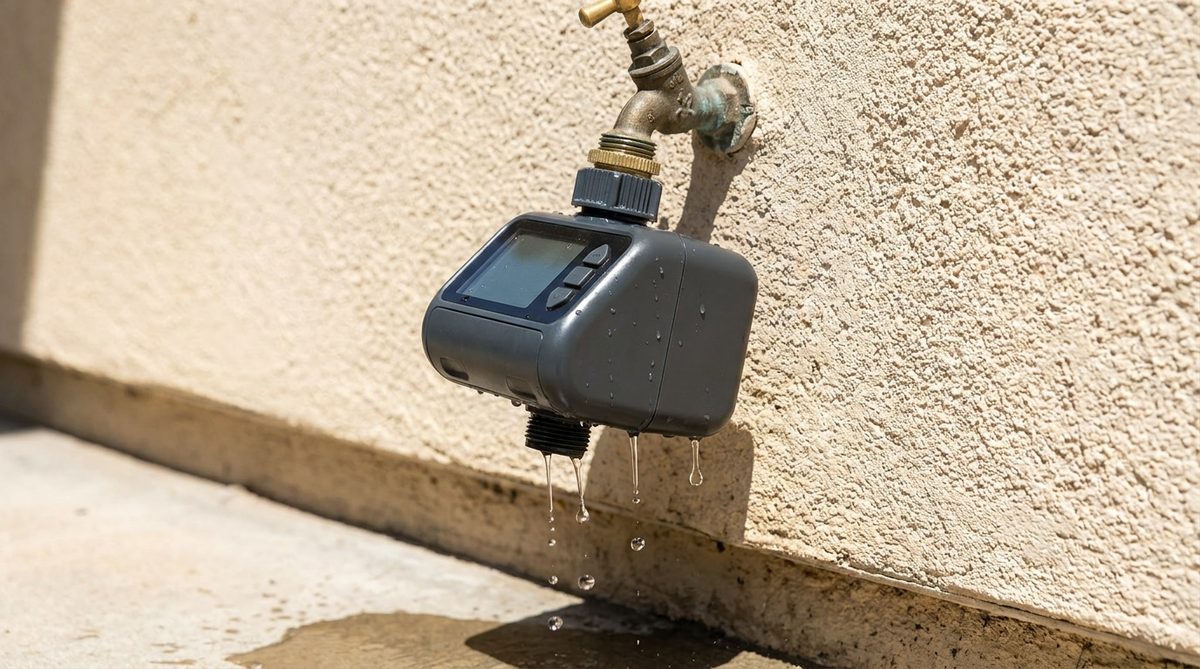
Summer heat hits hard. You want a green lawn and hydrated tomatoes. Buying a programmable irrigation timer seems like the easy fix. Weeks of peace of mind. No lugging hoses around.
But then you turn the water on.
It’s a nightmare. The device drips. The wall spigot floods. You’re wasting precious liters on the terrace while your plants still parch.
This isn’t usually a broken box. It’s almost always a detail you missed during the initial mount. Let’s find those oversights. Here is the recipe for a leak-free install from the get-go.
The Wall Connection: Joint, Filter, and Grip
The excitement of starting the system makes us rush the wall connection. This is where leaks live. The biggest mistake? Connecting the device without checking the seal.
You need a flat new gasket.
If you reuse an old rubber ring—crushed, warped, or missing—the water pressure escapes through the metal threading. Plain and simple.
Next, check the cleaned filter at the main inlet. A single grain of sand or calcium deposit can stop the internal solenoid valve from closing tight. That causes permanent dripping.
Finally, stop using pliers.
Your instinct says “tighten it hard.” Wrong. Use only hand strength. A pipe wrench or multi-grip pliers can crack the fragile plastic fixing ring. Moderate pressure is enough.
The Hidden Trap: Incompatible Quick Connectors
The second major source of floods happens below the timer. Where the hose attaches to distribute water to the garden beds.
Borrowing stores are full of colorful accessories. They look universal. They aren’t.
Mixing brands or using couplings worn out by two summers of sun creates an invisible mechanical gap. Under domestic water pressure—averaging three bars—that gap bursts.
To avoid midnight sprinklers, use compatible quick connectors. Ideally, stick to the same manufacturer as the main timer body.
The click must be sharp and clear. That sound means the male O-ring perfectly hugs the female wall. No gaps. No evaporation.
The Immediate Pressure Test
Once the timer is on the wall and the hose is coupled, do not set the digital schedule and walk away.
That is risky.
You need a immediate pressure test to verify the seal holds all season.
- Open the incoming valve to maximum.
- Watch every junction for several minutes.
- Look for micro-leaks. They often bead up slowly before trickling.
Professional grade perfection comes from a specific combo:
* New flat gasket.
* Meticulously cleaned filter.
* Hand-tightened connections.
* Matching quick connectors.
* Real-condition line testing at start-up.
Respect these basics. Your autonomous irrigation becomes peace of mind. It saves natural resources. It protects your exterior walls from water damage.
Small technical details separate a tedious chore from a successful DIY win.
Inspect those outdoor connections today. Stop the waste now.


