


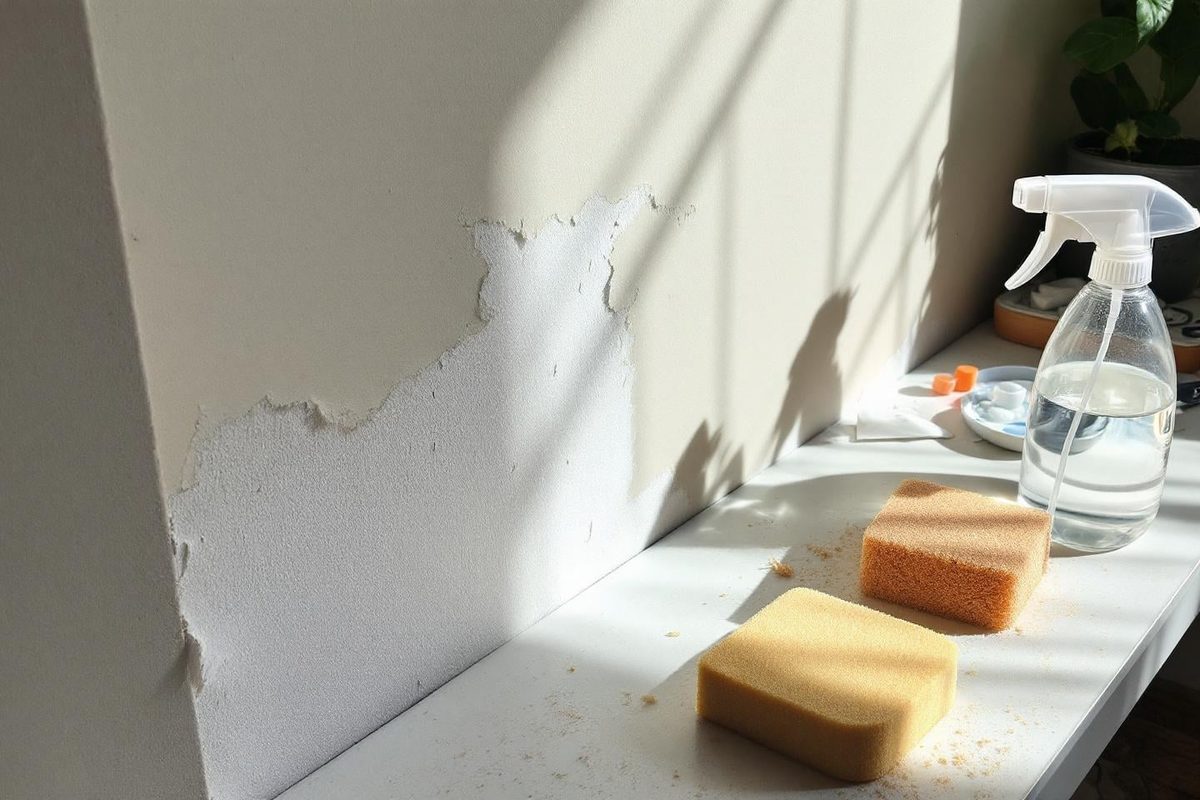
Winter is here. The holidays are creeping up. Everyone wants a fresh start inside their home. But stripping old wallpaper? That’s a different story. The fear of ruining the drywall holds people back. It’s a valid fear. You don’t want holes in your walls. You don’t want to repaint everything before you even start decorating.
There is a way out. A natural method. It works. And it doesn’t require expensive steamers or toxic chemicals that make you dizzy. You just need hot water and vinegar. This method strips the paper without damaging the plaster underneath. It’s cheaper. It’s safer. And it gets the job done. Let’s get your walls ready for that new look you’ve been dreaming about.
Prep the room before you start
Preparation isn’t just nice to have. It’s the difference between a smooth job and a headache. If you skip this step, you’ll be cleaning glue off your sofa at midnight. Move the furniture to the center of the room or take it out entirely.
Protect the floors. Use a heavy plastic tarp or thick drop cloths. Don’t forget the edges. Cover your baseboards, outlet covers, and light switches with painter’s tape. A few minutes of taping saves hours of scrubbing later.
Check the wall and the paper
Not all wallpaper is the same. Look at what you’re dealing with. Is it vinyl? Washable? Classic paper? This matters. It tells you how much moisture the paper can handle before it breaks down.
Look at the wall beneath the paper. Are there cracks? Blisters? Signs of water damage? Identify these now. If the wall is already compromised, you need to know before you start pulling. This diagnostic step helps you choose the right removal strategy. It prevents surprises when you’re halfway through.
Why hot water and vinegar works better than chemicals
Forget the harsh chemical strippers. They smell bad. They’re expensive. And they’re unnecessary. The real hero here is a simple mixture of hot water and white vinegar. It’s an old-school trick that’s making a comeback. Why? Because it actually works.
Chemical-free and safe
Vinegar is a natural solvent. It doesn’t release volatile organic compounds (VOCs) into your air. This is huge for homes that are sealed up tight against the cold. You breathe easier. Your skin stays safe. And your wallet stays fuller because vinegar is pennies compared to commercial removers.
The chemistry behind the strip
Vinegar is acidic. That acidity breaks down the bond of the wallpaper adhesive. But it’s mild enough not to eat into your drywall paper or plaster. Hot water helps. Heat opens up the fibers of the wallpaper. It allows the vinegar to penetrate deep into the glue. Classic methods often fail because the water doesn’t get through the vinyl layer. The heat and acid combination forces its way in. Softening the glue from the inside out.
Step-by-step: Spray, wait, peel
How do you apply this so it works without making a mess? The ratio matters. The timing matters. Get it wrong, and you’re peeling damp paper for hours. Get it right, and it lifts off like magic.
The perfect mix
You don’t need a chemistry degree. You just need proportions.
- 2 liters of very hot water. Not boiling. Hot enough to steam, but safe to handle.
- 0.5 liters of white vinegar.
Mix them. Pour the solution into a spray bottle. If you’re only doing a small area, scale it down. Keep the ratio at 4 parts water to 1 part vinegar. Consistency is key.
Application technique
Temperature control is everything. Use the mixture while it’s still warm. If it cools down, the effectiveness drops. Spray generously. Cover the entire section you’re working on. Don’t be shy. Soak the paper.
Pay special attention to the seams and edges. That’s where the glue holds tightest. The heat penetrates faster there. The vinegar attacks the adhesive bonds.
The wait game
Patience is the hardest part. Let the mixture sit for about 10 minutes. Do not rush this. The glue needs time to dissolve.
Work in sections. If you cover the whole wall at once, the first part will dry out before you can strip it. Treat one manageable area at a time. After ten minutes, test a corner. Use a scraper or your fingers. The paper should lift easily. If it resists, spray more. Wait another five minutes.
Once it’s ready, peel it away. It should come off in large sheets. No chunks. No residue stuck to the wall. Just a clean surface.
You’re halfway there. The paper is gone. But the wall isn’t quite ready for paint yet. There’s usually residue left behind. And sometimes, the wall itself needs a little TLC. We’ll cover how to clean the wall and prep it for the next layer in the next step. Keep your scraper handy.
You want a smooth wall. Not one full of anchor holes or ragged plaster tears. Achieving that requires the right tools and the precise moment to apply them. Most DIYers ruin their walls by rushing. Don’t be that person.
Use a wide spatula to protect your plaster
Stop using small, aggressive scrapers. They dig into the substrate. You need a wide spatula. Plastic or metal with rounded edges works best. Slide it flat under the paper. This lifts the layer gradually. Avoid scratching the plaster underneath.
Move with big, smooth strokes. Take your time. This patience ensures an impeccable result. You aren’t fighting the wall. You’re working with it.
Tackle stubborn glue and paper residues gently
Some paper won’t budge. Glue remains stubborn. Don’t scrub. That grinds the paste into the plaster. Instead, reapply your hot water and vinegar mixture. Use a sponge. Let it sit for a few minutes. The heat and acid break down the bond.
Then, wipe it away. Use a microfiber cloth. Gentle pressure is key. You don’t need to get angry. You just need to wait. Patience is the ultimate tool here.
Dry and inspect before painting
Once the paper is gone, the wall is wet. You need air. Open windows. Speed up the drying process. When it’s dry to the touch, run your hand over the surface.
Look for bumps. Feel for dips. Irregularities are the enemy of new paint. If you find them, patch them. Use a little plaster. Smooth it out. Now you have a healthy base. Your next decorative project will look professional.
Avoid common wallpaper removal mistakes
Every renovation has surprises. But some pitfalls are easy to dodge. If you know how to peel smartly, you avoid disaster.
Here is what NOT to do:
- Skip floor and furniture protection. Water and glue ruin carpets.
- Go too fast. Scratching plaster takes days to fix.
- Let the vinegar mix dry on the wall. It leaves streaks and attracts dirt.
- Skip the inspection step. Painting over bumps highlights every flaw.
Avoiding these errors makes the job faster. It also makes the repair work minimal.
The checklist for a perfect wall
Want to become the master of intact walls? Follow this sequence.
- Prep the room. Clear the space.
- Mix hot water and vinegar. Get the ratio right.
- Spray generously. Wait ten minutes. Let it penetrate.
- Peel with a large spatula. Do not force it.
- Clean residues. Dry completely. Inspect. Patch if needed.
This natural method works. It’s effective. It’s cheap. It turns wallpaper removal from a nightmare into a simple formality. Anyone can do it.
Now you’re ready for spring. Transform your home into a clean cocoon. Get the walls ready for new colors. White vinegar is your secret weapon. It keeps walls smooth and surprise-free. Your next decorating project will start on solid ground.


