


That stubborn door. The one you have to yank, kick, or pray to the hardware gods just to get across the threshold. We blame the hinges. We blame the humidity. We blame the age of the wood.
Wrong.
Look down.
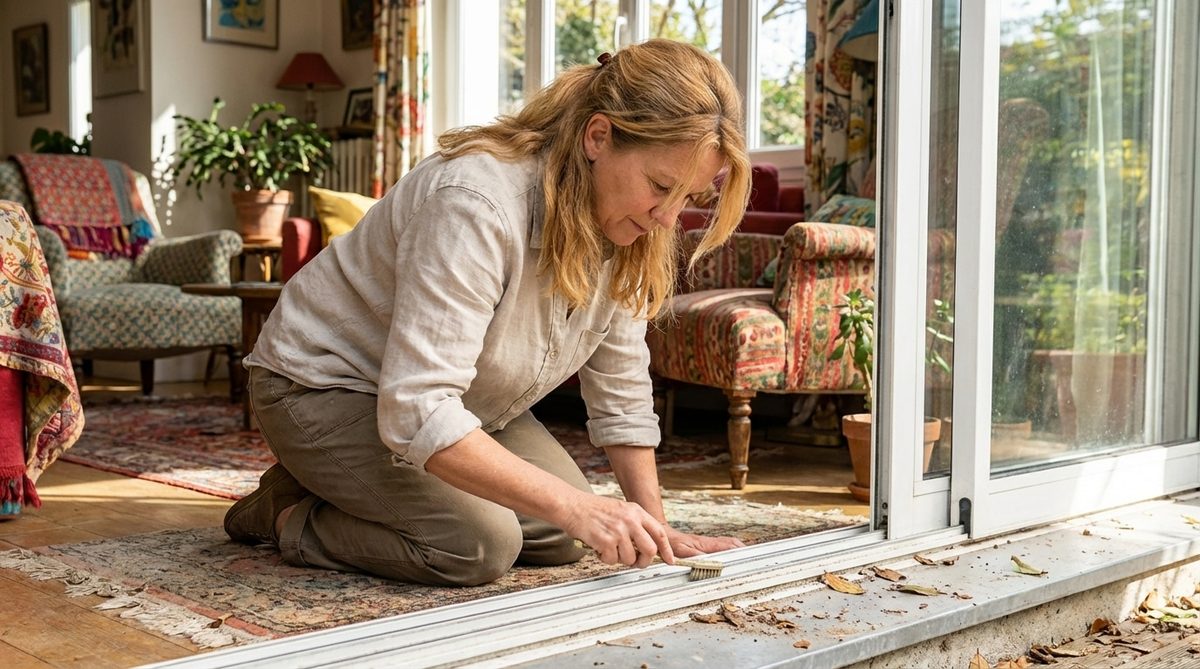
Really look. Not at the doorknob. At the floor. Specifically, the track. That narrow channel where the sliding door glides along? It is not empty. It is a graveyard. A dense, compacted layer of grit, lint, hair, and dried mud.
“The true culprit hides right under your feet, in those narrow grooves we jump over without ever looking.”
This isn’t just an aesthetic issue. It is mechanical failure waiting to happen. When debris builds up, it acts like sandpaper against your rollers. Friction spikes. Movement stops. You might think your door is warping. It isn’t. It is just choked.
Cleaning this track is not complicated. It does not require a degree in engineering. It requires a vacuum, a stiff brush, and five minutes of your morning.
Why Your Sliding Door Sticks
Before you buy a new door, fix the old one.
Sliding doors rely on a simple system. A wheel runs inside a track. The wheel carries the weight. The track guides the direction. If the track is dirty, the wheel catches. If the wheel catches, the door jerks. If the door jerks, you slam it.
Over years, this accumulation becomes cement-like. Dust mixes with moisture from the air. It turns into paste. This paste grinds against the metal or plastic of the roller mechanism. Eventually, the roller wears down unevenly. Or worse, it pops out of its housing entirely.
Ignoring this leads to:
– Broken rollers. Once they shatter, you are buying new hardware.
– Warped frames. Forcing a stuck door can bend the aluminum or wood.
– Security risks. A door that doesn’t latch properly is a door that doesn’t stay closed.
How to Clean Door Tracks Safely and Effectively
You do not need harsh chemicals. You need mechanical action.
Tools Needed:
– A vacuum with a crevice tool.
– An old toothbrush or a specialized track brush.
– A stiff putty knife or a flathead screwdriver (wrapped in tape to prevent scratching).
– Microfiber cloths.
– Mild dish soap and warm water.
Step 1: Remove Loose Debris
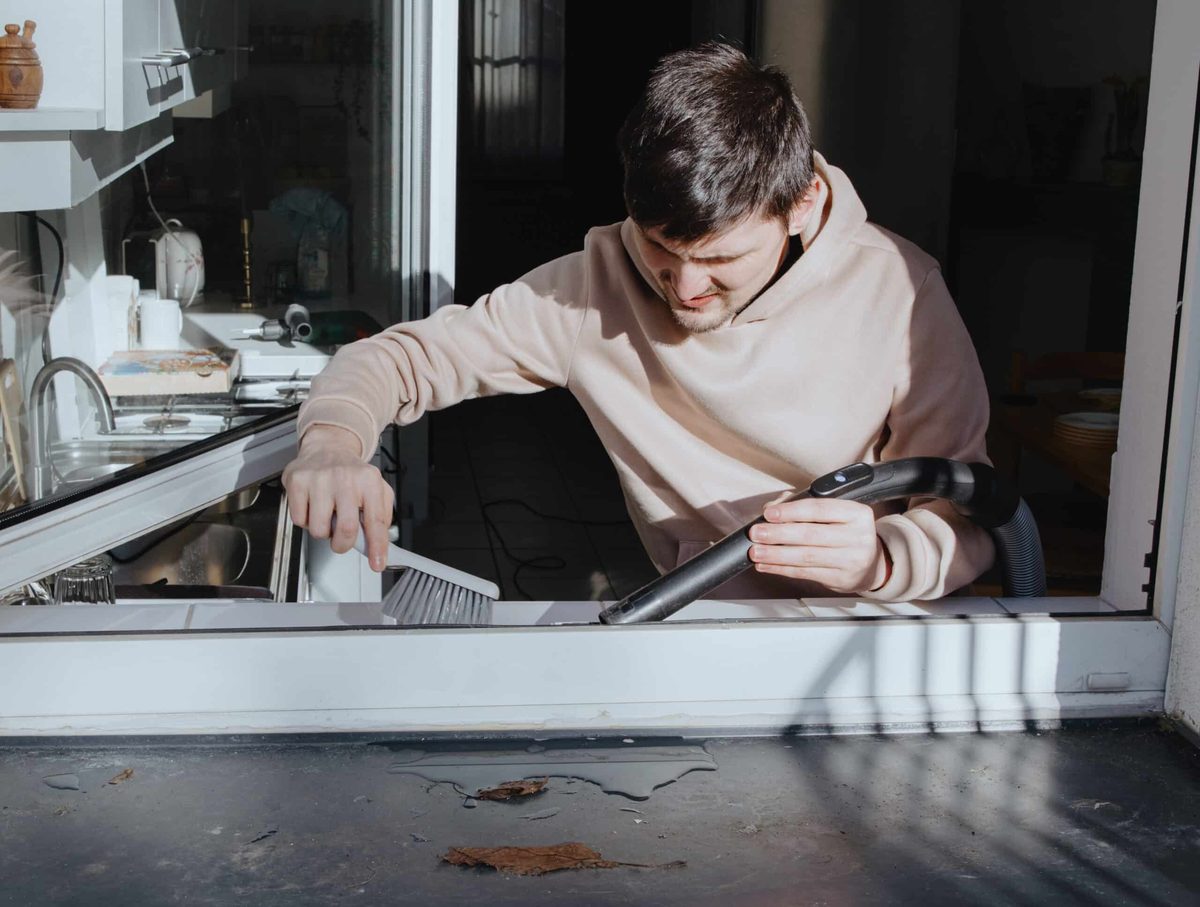
Start with the vacuum. Attach the narrow nozzle. Run it slowly along the entire length of the track. You will be surprised by what comes out. Hair clumps. Dog fur. Cigarette ash. The vacuum sucks up the loose stuff. It does not get the stuck-on grit.
Step 2: Scrape the Gunk
For the dried mud or sticky residue, use the putty knife. Go gently. You want to lift the debris, not gouge the track. If the track is aluminum, be careful not to bend it. If it is plastic, avoid sharp edges. Scrape from the back toward the front. Dislodge the compacted material.
Step 3: Scrub Deep
Mix warm water with a few drops of dish soap

The diagnosis is usually swift once you actually look at your sliding door rails. Over time, especially in winter when humidity turns dust into sludge, these gaps become traps. You will inevitably find entangled hair wrapped around mechanisms, pet fur, dirt from shoes, and compacted dust that has hardened over time. This heterogeneous mix forms a dense paste, resembling cement for the small wheels meant to glide freely. It is not just unsightly. It is a physical barrier that forces the mechanism and wears out moving parts prematurely. Understanding that this blockage is not a technical failure but a simple dirt buildup problem is the first step toward an easy, economical solution.
Before starting a wet clean that might turn dry dust into unmanageable mud, a preliminary dry attack is absolutely essential. The ideal tool for this phase is a vacuum cleaner with its thin nozzle attachment, that accessory often left in the back of the closet. You must meticulously go through each groove to vacuum up as many loose dirt, gravel, and dust particles as possible. If some debris remains stuck in inaccessible corners, the trick is to use a toothpick or an old dry brush to dislodge them and present them to the vacuum. This preparation step, though tedious, guarantees the effectiveness of the deep treatment to follow. By eliminating the bulk of solid debris now, you avoid creating a dirty magma that would be difficult to rinse and extract from the small corners of the track.
The Descaling Operation: The Homemade Cocktail That Removes Everything in Ten Minutes
Once the terrain is prepared, it is time to take action with a formidable solution against embedded grime, using products you likely already have in your cupboards. There is no need for aggressive chemical detergents to deal with this stubborn dirt ; natural chemistry works wonders here to dissolve set-in grease. To carry out this rescue operation on your joinery, simply gather the following:
-
Technical or food-grade baking soda
-
White vinegar (14° if possible)
-
An old soft or medium-bristle toothbrush
-
A clean microfiber cloth
-
Liquid black soap
The procedure relies on a well-known effervescent chemical reaction, applied here with generous precision. It is sufficient to generously sprinkle baking soda over the entire length of the rail, focusing on the blackest areas, then slowly pour white vinegar over it. The mixture will immediately foam, signaling that dirt removal is underway. This is the precise moment to intervene with the old toothbrush to vigorously scrub corners, angles, and underneath the rails. The small size of the brush allows you to reach areas inaccessible to a sponge. The effervescence helps lift dirt particles that have been stuck to the support for years, acting as a powerful micro-mechanical cleaning without scratching the aluminum or PVC of your structures.
Patience remains the key to success for this operation: after scrubbing, it is crucial to let the mixture work alone for about ten minutes. This resting time allows the acidity of the vinegar and the gentle abrasive action of the baking soda to soften fatty residues and any eventual lime deposits. Trying to wipe too quickly would be counterproductive, as the dirt would not have time to fully detach from the support. During this time, you can attend to other tasks while the solution works for you. It is often this waiting step that is neglected, even though it transforms a burdensome chore into a simple wiping gesture. The magic works silently, decomposing layers of frozen dirt accumulated season after season.
The chemical reaction is done. Now comes the satisfying part: cleanup. Grab a damp cloth or sturdy paper towels. Wipe away the gray paste that formed from the cleaning mix and dissolved grime. One swipe reveals the original rail color. It shines. It is clean.
Focus on the corners. Insist there. You do not want dried baking soda left behind. That residue creates a gritty layer. It brings back the friction. A microfiber cloth works best here. It traps fine particles. It does not just push them around.
You will feel immediate gratification. You see how neglected maintenance hurt both the look and function of the room.
Why Traditional Lubricants Fail
To stop the problem from returning soon, you need one last step. Most people skip it. They reach for oil or grease.
Do not do this.
Standard lubricants act like magnets for dust. They attract dirt. Within weeks, you are back to square one. The door jams again.
The trick is using black soap. Apply a few drops to a clean cloth. Wipe the inside of the rails.
This natural product has exceptional lubricating properties. It cleans as it works. The rollers glide without resistance. The soap leaves a thin protective film. It prevents new dirt from sticking too hard.
Your sliding doors will move with surprising ease. You turn a difficult opening into a smooth track. You also prevent future mechanical blockages.
Maintenance Rhythm
Adopt this ritual once or twice a year. You extend the life of your door frames. You improve daily comfort. It is simple. It is effective.
The next time your door sticks, skip the synthetic sprays. Try the soap. See the difference.


