The days are getting shorter. October brings that specific kind of gray light that makes you want to stay inside with a good book and a warm meal. It is also the perfect time to tackle that home project you have been ignoring. Specifically, replacing an old electric cooktop.
It might seem intimidating. Wiring can be scary. But you do not need to call a professional for this. You can do it yourself. You just need to know how to replace an electric cooktop safely and correctly. This guide breaks down the process so you can stop fearing the electrical panel and start enjoying a modern kitchen.
Why Bother Doing It Yourself?
There are valid reasons to skip the pro. Labor costs in France, or anywhere really, can be steep. An electrician’s visit adds up quickly. Doing it yourself saves you money. You might save over a hundred euros depending on your location and the complexity.
But it is not just about cash. It is about autonomy. When you fix your own appliances, you understand how they work. You learn the quirks of your specific model. This knowledge prolongs the life of your equipment. You also avoid waiting weeks for a contractor to show up during the busy winter season.
You get immediate gratification. A new cooktop installed on your schedule. Ready for gratins and comfort food right away.
The Tools You Need
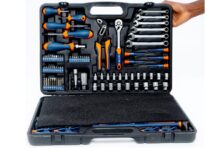
Before you touch anything, gather your gear. You do not need a professional toolkit, but you cannot improvise with just any screwdriver.
- Insulated screwdrivers : Both Phillips (cruciforme) and flathead. The insulation is non-negotiable for safety.
- Voltage tester : A reliable one. Do not guess with electricity.
- Insulated gloves : Optional, but recommended for extra peace of mind.
- Wire strippers or small electrician’s pliers : For handling the connections.
- Marker or tape : To label wires.
Step 1: Cut the Power
This is the most important step. Electricity does not forgive mistakes.
Go to your main electrical panel. Flip the breaker that controls the kitchen or the specific circuit for the cooktop. If you are unsure, cut the power to the whole apartment. It is better to sit in the dark for ten minutes than to get shocked.
Once the breaker is off, use your voltage tester. Check the terminals of the old cooktop. Also check nearby outlets to confirm the power is truly dead. No light on the tester means you are safe to proceed.
Step 2: Document and Remove
Do not rip things apart blindly. Look under the cooktop. You will see cables. There are three main types:
- Phase (Live)
- Neutral
- Ground (Earth)
Take a photo of the wiring before you unscrew anything. Alternatively, use tape to number each wire. This simple trick saves you from confusion later.
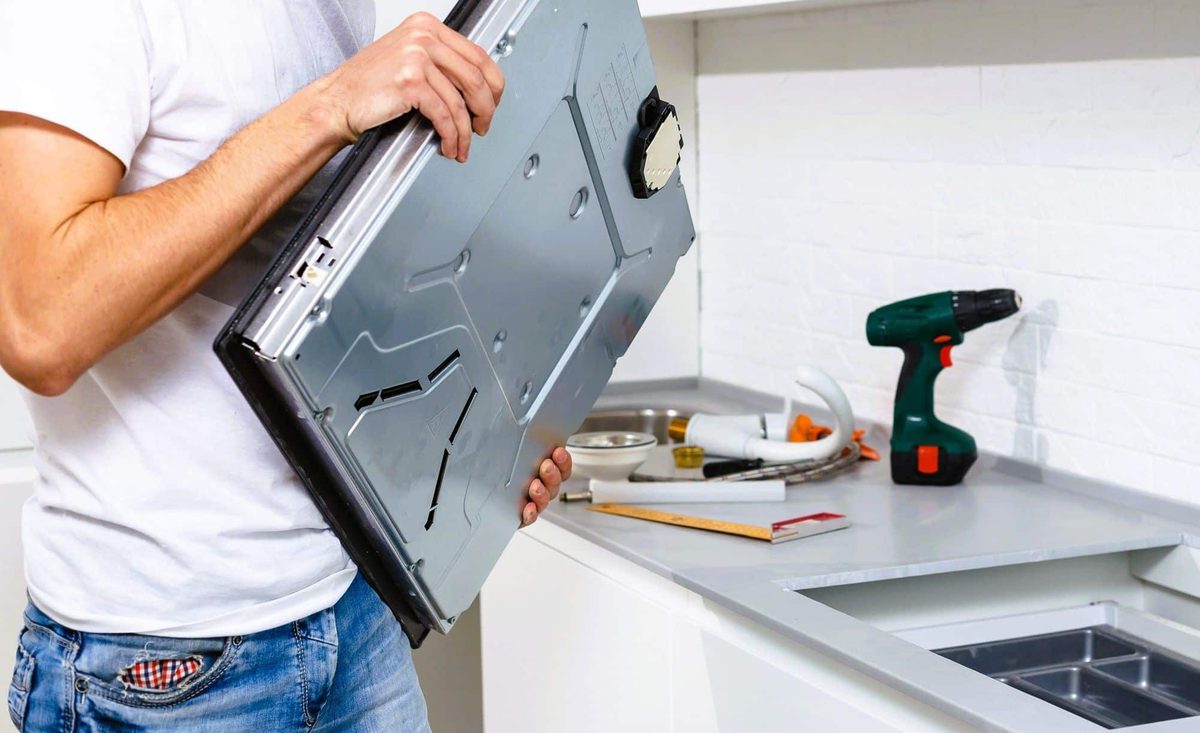
Next, remove the screws holding the cooktop to the countertop. They are usually underneath or on the sides. Be careful not to scratch the counter. Lift the cooktop slightly.
Now, disconnect the wires. Do it one by one. Follow the reverse order of how they were connected. Keep them organized. If you have labeled them, this part is easy. If not, rely heavily on that photo you took.
Step 3: Install the New Cooktop
Place the new unit into the cutout. It should fit snugly.
Reconnect the wires. Look at your photo or labels. Connect the neutral to neutral, phase to phase, and ground to ground. Do not force the connections. Do not swap them. A proper connection is critical for safety and functionality.
Once the wires are secure and tucked away, lower the cooktop into place. Secure it with the screws. Tighten them firmly, but do not overtighten. You want it stable and level. If it wobbles, adjust the position. It needs to be horizontal.
Step 4: Test and Enjoy
Turn the power back on at the breaker.
Wait a moment. Listen for any buzzing. Look for sparks (there should be none). Then, test the cooktop. Turn on one burner. Place a pot of water on it. Watch the indicator light. Feel for heat.
If everything works smoothly, you have succeeded.
If a zone fails to heat or you smell burning, turn the power off immediately. Check the connections again. Loose wires are the most common issue in DIY electrical work.
This is not magic. It is method. You have now mastered the basic steps for how to replace an electric cooktop. The kitchen feels different. Newer. Cleaner. You earned that.
The next time you cook, you will know exactly what is happening behind that smooth surface. That is a small victory. But it is yours. And the money you saved? That stays in your pocket.
There is always another project waiting. Maybe the oven next. Or the dishwasher. You have the tools now.
The secret to a successful installation isn’t hidden in complex technical manuals. It’s in the discipline of your process. Turn off the power. Unscrew the plate. Disconnect wires one by one. Install the new unit by mirroring the original wiring order. It sounds almost too simple. But simplicity only works if you are rigorous.
The Four-Step Safety Protocol
Before you even pick up a screwdriver, you must isolate the circuit. Always cut the electricity before starting. There is no shortcut here. Use a voltage tester to confirm the line is dead. Trust nothing but the meter.
Once you are sure, remove the mounting screws. Don’t force them. If they resist, check for rust or paint sealing them in. Gently detach the old cooktop. You are not just removing hardware; you are preserving the integrity of the surrounding cabinetry. One slip with a screwdriver and you’re patching drywall instead of cooking.
Here is where most people fail. They rush the wiring.
Take a photo.
Before you disconnect anything, snap a clear picture of the terminal block. Note which wire goes where. Colors can be misleading. Labels fade. Your camera memory is reliable. This single step prevents the headache of guessing during reassembly.
Wiring: Precision Over Speed
When you bring in the new cooktop, do not guess. Respect the exact order of the original connections.
- Identify the live wire (usually black or red).
- Identify the neutral (white).
- Identify the ground (green or bare copper).
Match them precisely. Tighten the terminal screws until they are secure, but do not overtighten and strip the threads. A loose connection causes arcing. Arcing causes fires. It is that direct.
Once everything is tucked back into the box, slide the new plate into place. Secure it with the screws. Ensure the unit sits flush. Gaps invite spills. Spills invite corrosion.
Testing and Final Checks
Do not flip the breaker immediately. Inspect your work. Are any wires pinched? Is the ground wire properly attached to the chassis? Look for any exposed copper that shouldn’t be there.
When you are satisfied, restore power. Turn on the burner. Just one. Watch it. Listen for clicks or hums. Smell for burning insulation. If anything feels off, cut the power again. Diagnose. Fix.
If it heats up evenly and the controls respond instantly, you have succeeded. You have replaced a major appliance component without calling a pro.
The DIY Satisfaction
Replacing an electric cooktop is a project that balances curiosity with autonomy. It requires patience. It demands respect for electricity. But the payoff is tangible.
You save money. You gain confidence. You prove to yourself that you can handle the guts of your home.
As winter approaches and kitchen time becomes scarce, having a working stove is more than just convenience. It is a baseline of normalcy. Fixing it yourself adds a layer of grit to the season. The kitchen becomes a place of warmth, not just heat.
So you’ve mastered the cooktop. The wiring makes sense. The safety protocols are locked in. What’s next? The water heater? The main panel? The possibilities are endless.