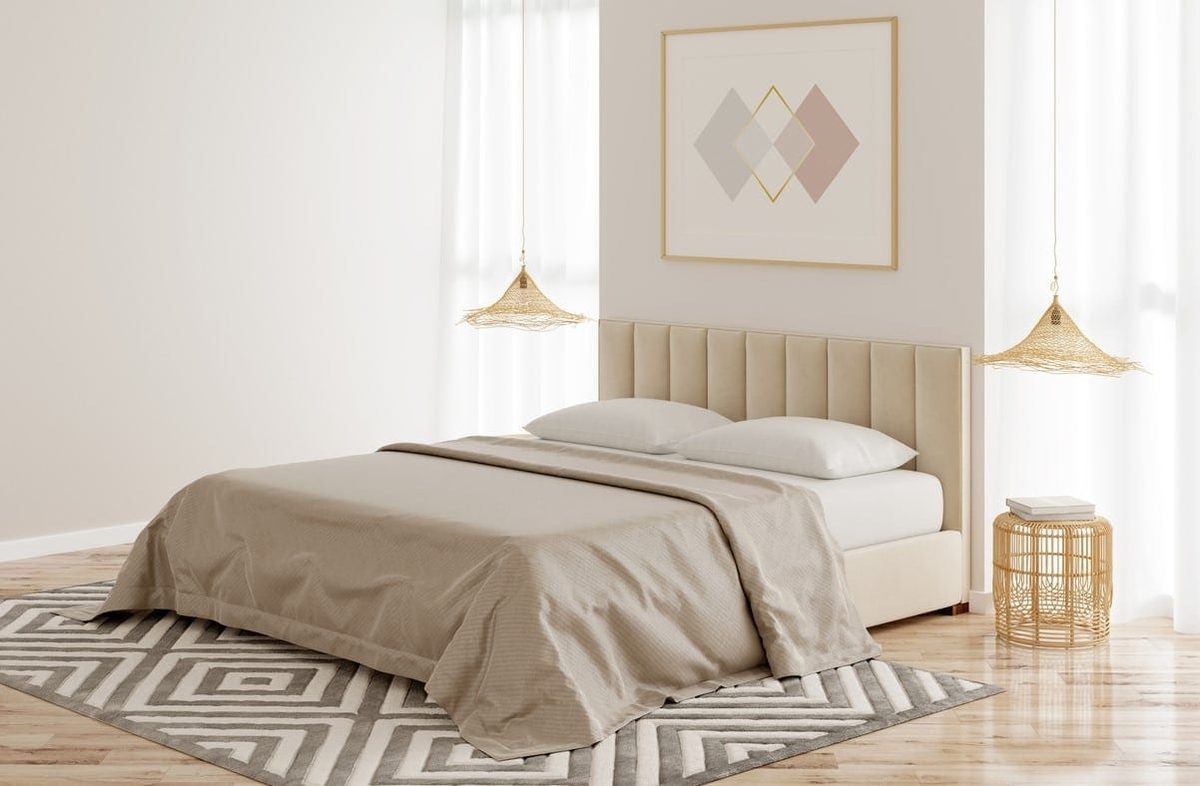
The headboard is the anchor of the bedroom. It doesn’t just look good on the wall. It defines the space. It provides additional comfort. It adds personality to a room that otherwise looks flat. Whether you want a simple wooden frame or upholstered furniture with a high back and hidden shelves, the market is full of options. But buying a headboard is only half the battle.
The real question is how to install it safely without loosening screws or having it fall on you at 3am.
Most people assume that headboards are difficult to install. They are not. But skipping the prep work quickly results in a lopsided, unstable mess. You need the right tools. You need to know where the wall studs are. And you need to match the hardware to your specific type of headboard.
Here’s how to do it right.
Identify your headboard type
Not all headboards are attached in the same way. Before you drill anything, look at the back of the headboard. Most fall into three categories. Knowing what you have determines your entire installation process.
Platform style headboards come with integrated legs. These rest directly on the ground. You slide them against the bed frame. No drilling is required for the wall. Just make sure the bed frame is sturdy. If the bed shakes, the headboard also shakes.
Free standing headboards are similar but often taller. You lean against the wall. They usually require a set of wall anchors to prevent tipping over. This is important if you have children or cats that like to climb. A loose headboard poses a danger.
Wall-mounted headboards are the most difficult. They require fixing to the wall. This works with any bed frame, even low profile ones. It creates space on the floor. But it requires precision. You need to locate studs. You need to measure twice.
Gather your tools
You don’t need professional carpentry equipment. You need certain items for safety and stability.
- Stud finder: Necessary for wall mounted devices. Drywall anchors alone often cannot support weight, especially when leaning heavily back.
- Level: Even a slightly crooked headboard will drive you crazy. Use a spirit level or laser level.
- Drills and bits: A cordless drill is the best. Make sure you have the correct bit size for your screws.
- Measuring tape: Precision matters. Mark the holes before drilling.
- ** Pencil:** For marking the drilling points.
- Wall anchors and screws: These vary depending on the headboard. Check the manufacturer’s instructions. If hardware is not available, purchase heavy duty toggle bolts for drywall without studs.
- Assistant: Headboards take up space. Lifting one alone is a recipe for falling screws or back pain. Get help.
Locate the wall studs
If you are installing a wall-mounted headboard, skipping this step is a mistake. Studs are wooden beams in your wall. They provide the necessary structural strength to support the weight. Drywall alone is weak. It crumbles under pressure.
Use your stud finder. Mark the center of each stud with a pencil. Studs are typically spaced 16 or 24 inches apart. Measure from
Find the right headboard size
Buying a headboard is not just about choosing something beautiful. It has to fit the space. In particular, it must completely cover the top of your bed. Start by measuring the width of the mattress. Add 20 centimeters to this number. This will give you the optimal length for your new piece. Now you have a clear goal for the purchase.
Select the installation method
You bought a headboard. Clean the room. Gather your tools. There are basically three ways to install it. You can put it on the floor. You can attach it to the back of the bed base. Or you can bolt it to the wall.
If you’re renting, stick to the first two options, unless your lease specifically allows drilling into the walls. Avoid damage deposits by playing it safe.
How to put the headboard on the floor
Is the headboard you have chosen heavy? Place it on the floor. Place it between the wall and the bed base. The weight of the mattress and frame hold it in place. It’s a simple gravity-based solution.
Do you have pre-drilled holes in your bed base? Use them. Even if the headboard rests on the floor, you can attach it to the bed base using these holes. This increases stability and prevents slipping.
How do you attach the headboard directly to the bed
You have chosen a model that is attached directly to the slats or the base. Here is the step-by-step process.
First, find the pre-drilled holes in the bed base. If it’s upholstered, you can feel the holes in the fabric. Look for two holes on each side. They are usually located near the top of the base, about 10 cm from the corner.
Align the holes in the headboard with those on the bed. Do not tighten the screws yet. Use a spirit level to check that the headboard is straight. Misalignment is embarrassing and difficult to correct later.
After alignment, lightly tighten the screws and nuts. Test stability. Then screw them all the way in to ensure a secure fit. The headboard is now attached.

Attaching the headboard directly to the wall: A permanent solution
You’ve decided against a freestanding frame. You want the headboard to sit flush with the drywall and anchor tightly. It looks clean. It feels safe. But it’s an permanent commitment. Once you drill these holes, you can’t simply move the bed three inches to the left to remove the draft. Choose this place very carefully. Get it wrong and you’ll be stuck with messy filler and new holes.
Assuming you’ve marked your center point, the next step is to create a bridge between the wall and the wood. In practice, you have two options: metal slide rails or wooden cleats. The metal route is industrial. The wooden route is traditional. Choose the one that fits your tool belt and the headboard’s weight.
Metal slide rail method
Metal rails are the strongest choice. If you want to hang a solid, upholstered king-size headboard, this is the safest choice. A small, light board may only need one rail, but large surfaces distribute the weight better with multiple anchors.
The system works according to the male-female principle. Think of it like a drawer slide. One piece bolts behind the headboard. The other is attached to the wall.
Here’s how to do it without stripping the screws:
- Mark the male rail. Hold the male rail against the back of your headboard. Decide how high you want the top edge to sit. Mark the screw holes. Drill and fix the male rail and attach it to the wood.
- Transfer the measurements. This is the tricky part. Place the headboard on the floor (or lean firmly against the wall) and press the female rail against it to mark the wall. Alternatively, you can measure the distance from the top of the male rail to the mounting holes and then repeat the exact distance on the wall to the female rail.
- Install the female rail. Use an electric screwdriver. Drill wall anchors. The most important detail: The female rail has notches or lips. These must point up. If they are pointing down, gravity will pull the headboard off as soon as you let go.
- Join them together. Raise the headboard and insert the male part into the female rail.
Pro tip: Don’t just screw into the drywall. Plasterboard has approximately zero tensile strength when pulling heavy loads. Locate the metal cleats behind the drywall. Use a stud finder – pick one up at a hardware store for a few euros. By screwing directly to the metal frame, you get real holding power. If you can’t hit a stud, you’ll need to use heavy-duty wall anchors designed to handle the specific weight of the headboard.
Wooden Cleat Method
If you like the carpenter’s approach, build a custom brace from wooden slats (cleats). This method requires precise cutting but offers a hidden, clean look.
The goal is to create an angled support. You need two wooden slats. They need to be cut at a 30 degree angle so they fit together like a puzzle piece. This angle ensures that the headboard does not slide forward.
There are two non-negotiable rules for this build:
- Length: Each slat must be shorter than the headboard. Leave about 10 cm less on both sides. If the slat is too long, it will press against the wall before the headboard sits flat, leaving a gap behind the wood.
- Depth: The slats must be thick enough to create an air gap. There should be about 1-2 inches of space between the back of the bed and the wall. This isn’t just about aesthetics; it allows for air circulation. Moisture trapped between an padded headboard and a cold exterior wall is a recipe for mold. Mold is harmful to lungs and upholstery.
Step-by-step implementation:
- Cut the angles. Cut both wooden slats at a 30 degree angle with a miter saw (or miter box and hand saw). They should fit together perfectly and form a right-angled “L” shape when joined.
- Mount the wall slat. Locate the wall studs. Screw the first slat into the wall, making sure the angled cut is up and towards the room. This is the shelf on which the headboard rests.
- Attach the headboard slat. Turn the headboard over. Screw the second slat to the back of the wood and adjust the angle so that it lines up with the part attached to the wall.
- Lock it in. Raise the headboard and slot the two angled slats together. Friction and angle hold it in place. No hooks, no rails. Just wood against wood.
Your wall is now decorated. The bed is anchored. You have made a decision that won’t move.